Pizza Dough

1h 30m

2 servings
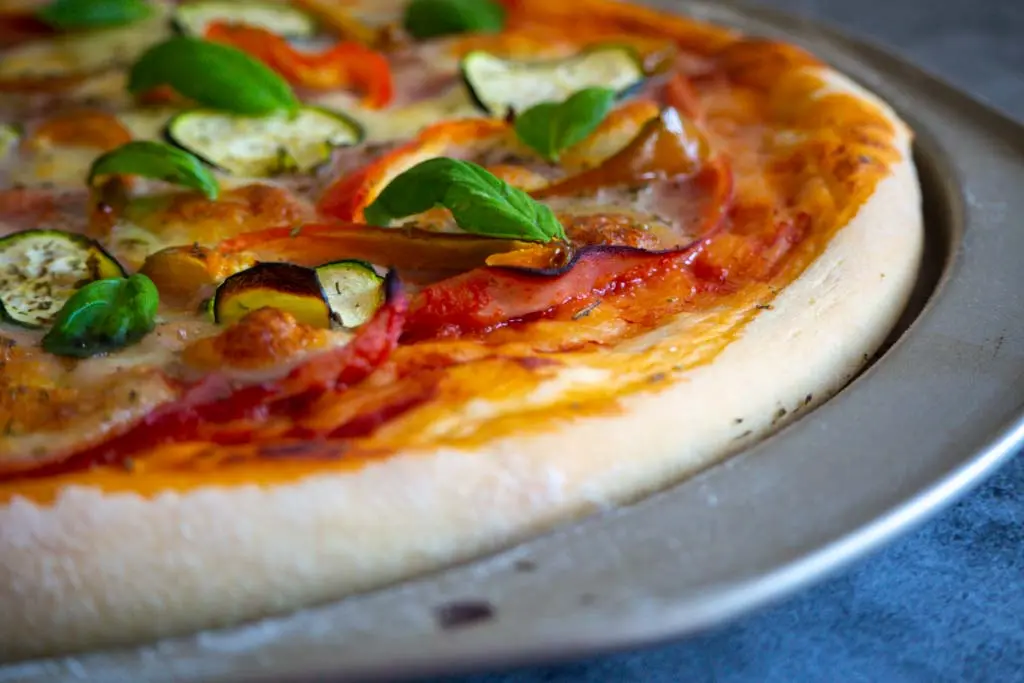
Even bad pizza is good pizza. But good pizza is great! And for me a very big part of what makes or breaks a good pizza is the actual bread part. So if you're like me and enjoy a thicker dough that can hold you favorite toppings without breaking and love biting into a soft but chewy crust, this is the recipe for you.
I've also optimized this recipe to take into account that most of us don't have an actual pizza oven at home. Neapolitan pizza is fantastic, but unless you happen to have a super high temperature oven at home (I'm talking 500°C), you won't be happy with the way a high hydration dough like that comes out. So this probably won't be the best dough ever, but it's the best you can make at home with a conventional oven.
Ingredients
- 240 ml water (warm)
- 8 g dry yeast
- 10 g sugar
- 400 g flour
- 7 g salt
- 15 g olive oil
Directions
- Add the yeast and sugar to the water (make sure it's not too hot or you might kill the yeast, body temperature at most), give the mix a little stir and leave the yeast to activate for 5-10 minutes (see notes). If it's thick and bubbly after this rest, you're ready to continue.
- To a large bowl (preferably of a stand mixer) add the flour, salt, oil and the activated yeast mixture.
- Start kneading (either by hand or with a stand mixer using the dough hook). After about 10 minutes of kneading the dough should be smooth and elastic.
- Shape the dough into a ball, dust well with flour all over, then put back into the bowl, cover with a kitchen towel and leave to proof for one hour (or until doubled in size).
- Preheat your oven to 200°C if using a convection/fan-assisted oven (which would be my suggestion) or to 220°C for a conventional oven.
- After the dough has risen, punch out the air and give it a quick knead, then separate into two halves (this dough is meant for two 30 cm diameter pizzas of medium thickness).
- Shape the pizza dough into a disc whichever way you like (see notes).
- Add your toppings (see notes).
- Put into the oven and bake for 13 minutes (or longer if you prefer a char, just keep an eye on it so it doesn't burn).
Notes
Activating the dry yeast is not strictly necessary nowadays, but I like to do it out of caution anyways. I had it happen before that it didn't activate, so this step saved me from having to throw away the entire dough because it wouldn't rise at all.
Shaping the dough: There's the "proper" way, the way you see in pizzerias, where you pat out the dough as much as you can with your fingers and then start stretching it, all of this just with your hands. Or you can be basic like me and just use a rolling pin. ¯\_(ツ)_/¯
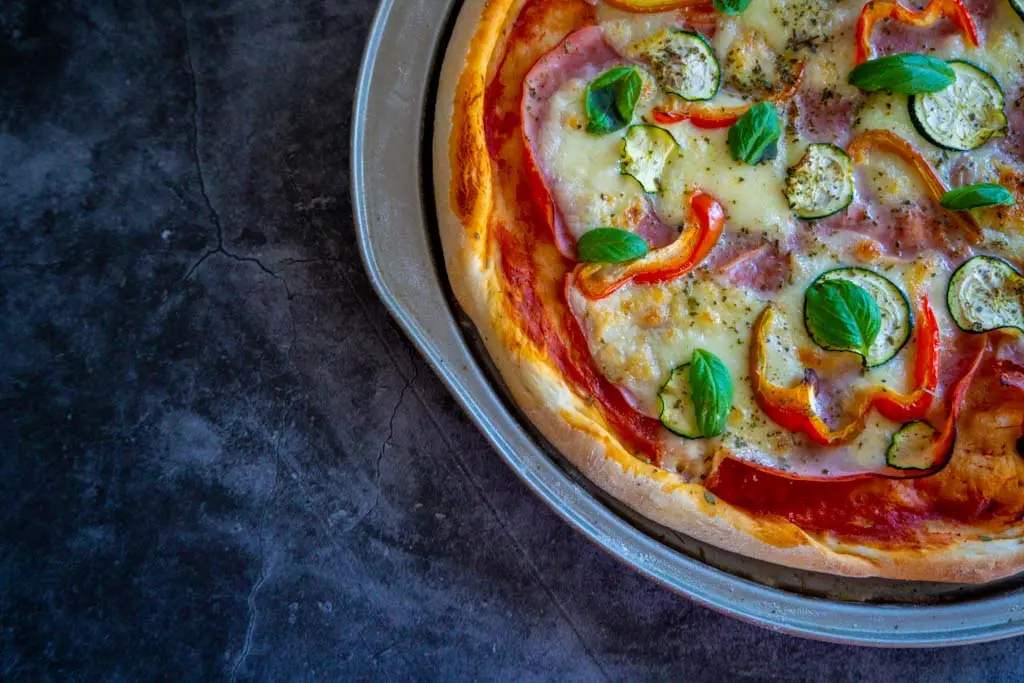
What to bake this in/on? I personally just use a simple pizza tray (one of those round metal ones with holes at the bottom) or a pizza stone for the oven (depending on how much effort I feel like putting in that day). The pizza stone will give you a more crunchy pizza bottom, but it's a little bit fussier to work with, so just use whatever feel right, even if it's just a normal baking tray. If using the pizza stone though, make sure to heat it to your target temperature before putting the pizza into the oven.
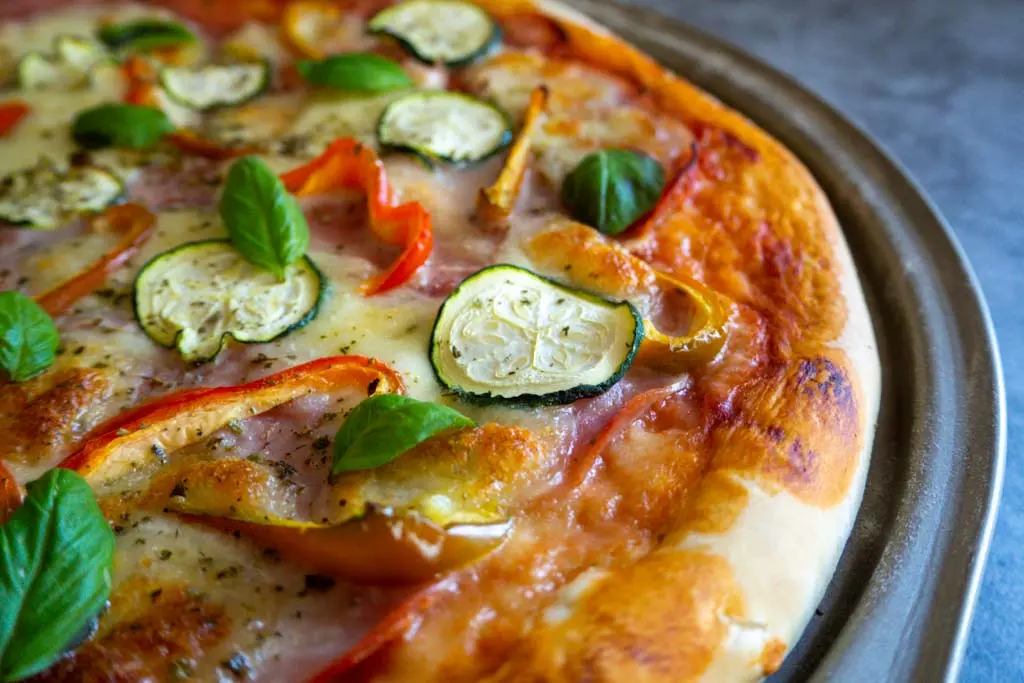
On the subject of toppings: Don't overdo it and make sure no ingredient is too liquid or will release too much water. I personally love vegetables on my pizza, but I make sure to cut them fairly thin. Also don't add too much tomato sauce or forget to squeeze out the excess moisture from your fresh cheeses (like mozzarella). All these things might lead to a soggy crust, with the toppings floating on top of it, and no one wants that. Unless that's your thing, you do you.
Gallery