Banana Bread
1h 15m
10 servings
I eat – and therefore buy – a lot of bananas. And I mean a LOT. However, when it comes to eating them as is, I prefer a banana that's closer to underripe than brown and overly soft. Once the bananas cross this threshold, where I cannot bear the now mushy texture, I use them to make some kind of dessert. One of my go-to ones, especially if I'm also craving something on the cake side of the dessert spectrum, is banana bread.
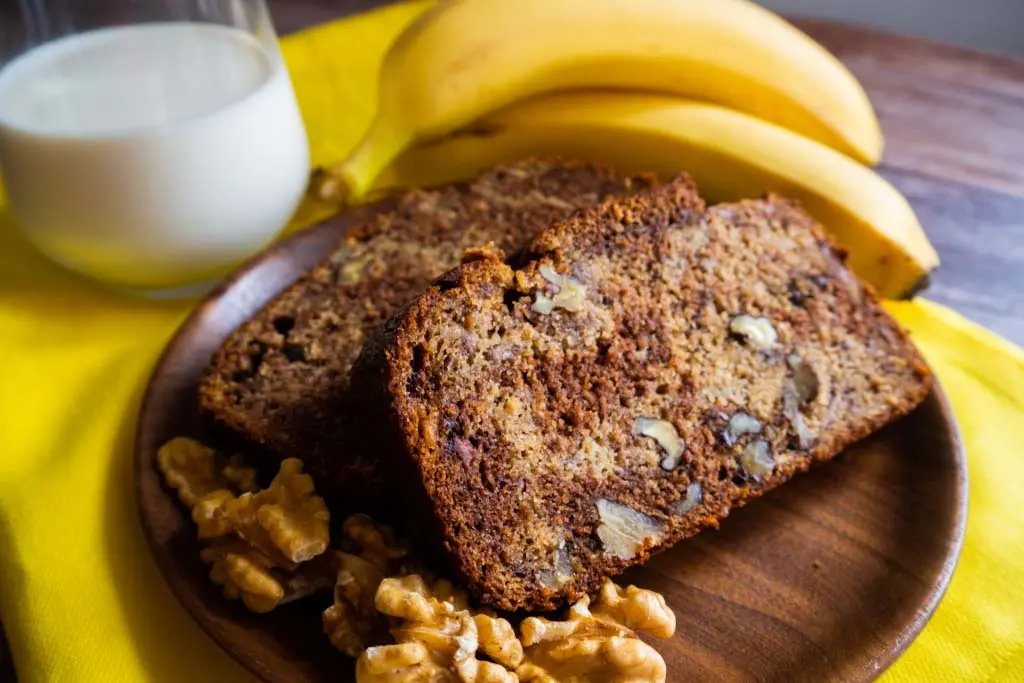
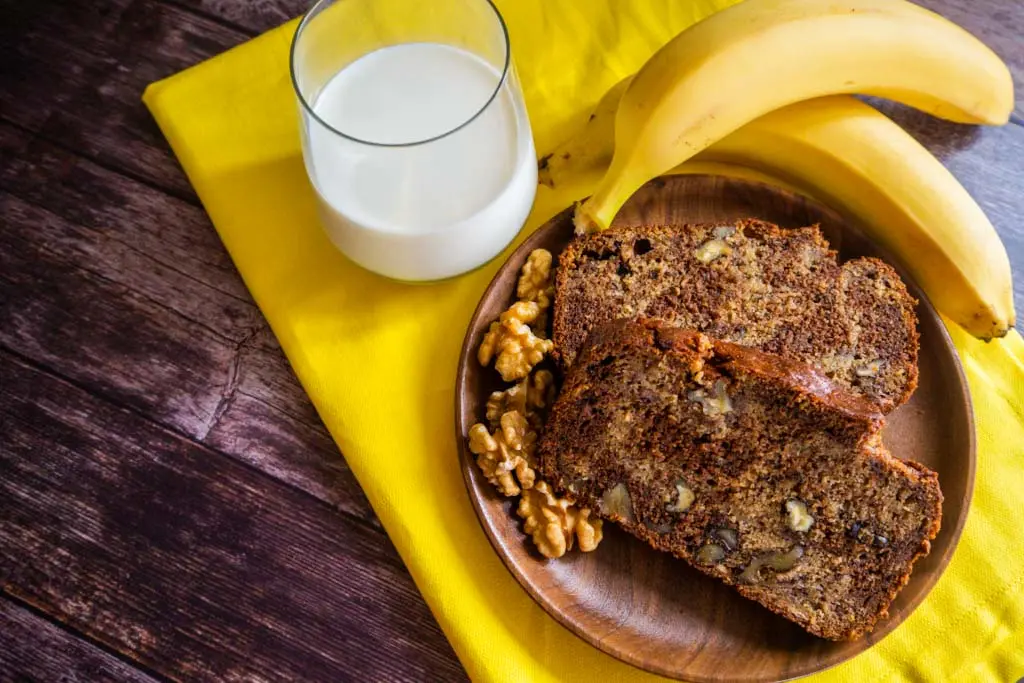
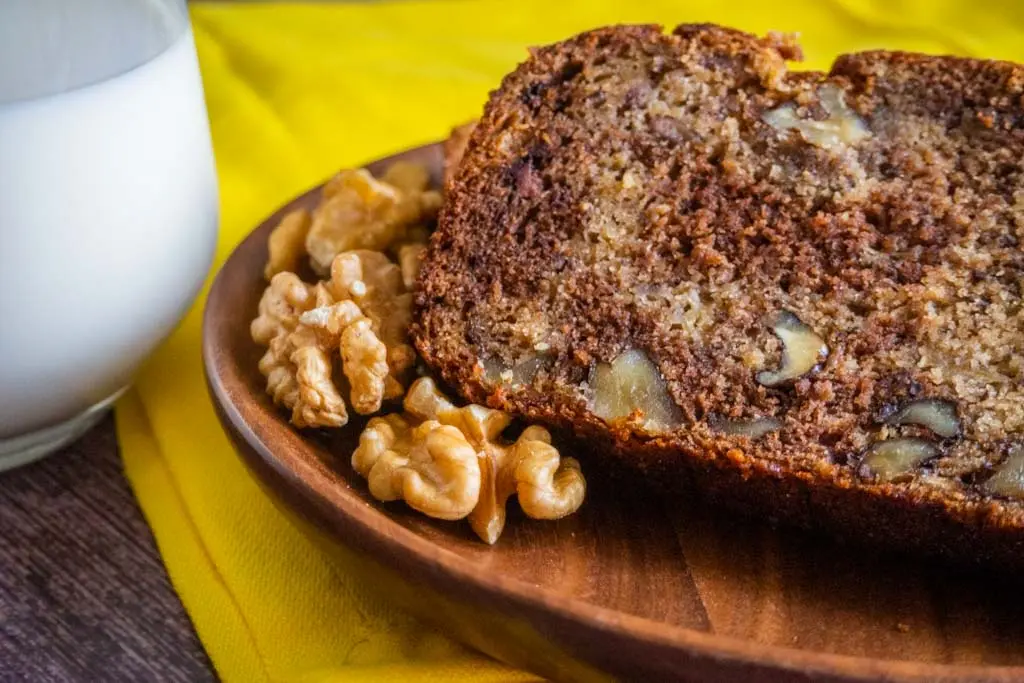
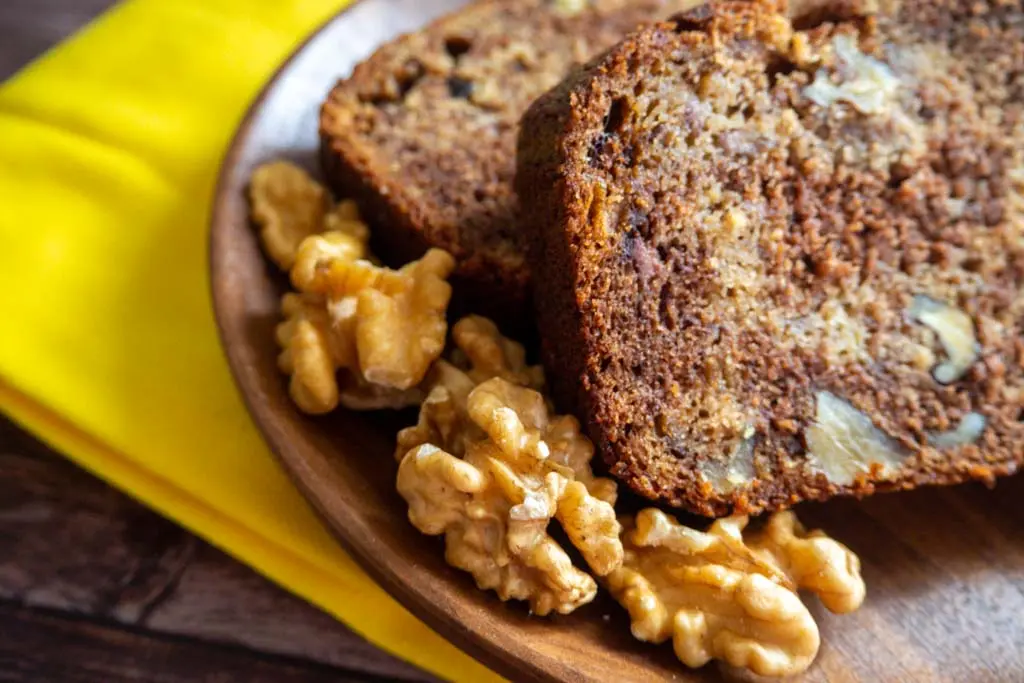
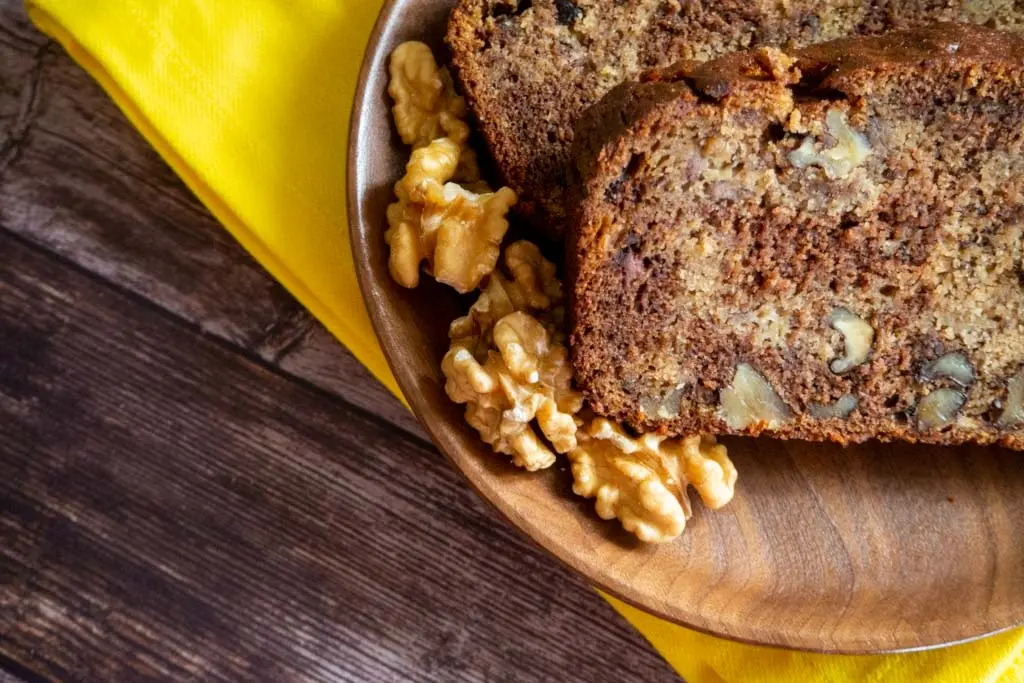
The recipe here describes most basic version of banana bread, however it is very easily modified and I've added a few suggestions about how to do that and what to add in the notes section (the two-toned version with walnuts, as pictured, is of course also among them).
Ingredients
Directions
- Preheat your oven to 180°C, then grease a loaf pan that is able to hold about 1.5 l of content (mine was 19x15x5 cm).
- In one bowl mix together the flour, baking soda, salt and cinnamon.
- In another (larger) bowl first mix the butter and sugars together until light and frothy with a hand or stand mixer (for the amount of ingredients in this recipe, I suggest the hand mixer, it's a rather small amount of dough).
- Beat in two eggs, one at a time, until light and frothy.
- Add in the yogurt, vanilla and bananas, mix well.
- Switch to a paddle attachment or even better, use a spatula and do the following steps by hand.
- Add the dry ingredients into the wet mix in two batches, folding them in. Mix until everything is just combined, but do not overmix it, or your banana bread might end up too dense. Stop immediately when no streaks of dry flour can be seen anymore.
- Put in the oven and bake for about 1h. Around 25 minutes into the bake, check on your loaf. If it's very brown on top already, loosely cover it with some aluminium foil for the remainder of the bake, to prevent it from browning too much or even burning. The banana bread is done once a wooden stick inserted into the center comes out clean, or even better, if you take its central internal temperature and it has reached 93°C.
- Remove it from the oven, let it rest a few minutes, then remove from the loaf pan and let the bread cool completely on a wire rack (or even better, eat it while still warm!)
Notes
When it comes to the sugar you don't necessarily need to use the combination of light and dark brown. I personally really like the deep caramel taste the dark brown sugar adds to the banana bread (I use dark muscavado for this purpose), but the recipe will work just as well if you only use light brown sugar or even white sugar, if that's the only thing you have on hand.
You can use any kind of yogurt you have at home, be it regular, Greek, coconut etc. You can even substitute sour cream, ricotta, mascarpone etc. The banana bread just needs a little bit of extra dairy to make the finished product more tender.
Are your bananas not ripe yet? There's a simple trick how to get them soft and mushy real fast. Take your bananas, put them on a lined baking tray. Score each banana 3-4 times with a knife on the upward-facing side, then put them all in the oven at 180°C for about 10 minutes. When the skins of the bananas turn a ripe dark brown, pull them out, wait for them to cool a little bit, then peel them and Voilà! Overripe bananas ready to be mashed and baked into banana bread or similar.
Customize it as you want as this recipe is a great base which you can enhance. Mix in some chocolate chips, different kinds of nuts or dried fruit. Add spices other than cinnamon or even omit it completely. Add cocoa powder and make it a chocolate banana bread. The possibilities are endless, just make sure to keep the consistency of the batter the same and to not add too many mixins, otherwise your baking time may need to change accordingly.
To make the version pictured in the gallery:
- When your batter has come together, split it into two parts.
- Add 10 g of cocoa powder to one half and mix.
- Add about 75 g of walnuts to the light batter and mix.
- Take a spoon and add a few dollops of the light batter into the greased loaf pan. Then take the dark batter and fill the gaps. Keep repeating this dolloping of light and dark batter until you run out.
- Take a knife or chopstick, put it into the batter and start moving it around from side to side and top to bottom and back in large wavy motions, to mix the two batters lightly. Don't overdo this, or you might lose the distinct layers.
- Bake as usual.
Gallery
